TCache
Secondary Mid
Usually starts behind or beside the Primary Mid player around Garage, Boost support and Top Mid. The second layer makes the central fight sustainable: it supplies the flash, clears the trade, protects the boost and inherits space if the first player falls. Good spacing is narrow enough to trade but wide enough that one grenade or spray cannot stop both players.
Opening options
- Follow the Primary Mid contact at trade distance and continue through the gap when the CT line breaks (Aggressive)
- Protect Garage and Boost from aggression while holding the utility needed for a later re-clear (Defensive)
- Change places with the primary contact when spawn, weapon or the first CT reaction gives the second player the better duel (Situational)
Mid-round decisions
- Once Mid is stable, take the unowned responsibility. That may be holding the re-peek, clearing Vent, supporting Highway or watching the route that lets the team fall back.
- If the first player dies, resist the automatic revenge swing when the trade window is gone. Reset the angle, use utility and keep the rest of the team from entering the same solved fight.
- During a split, preserve the sequence between central and extremity pressure. The Secondary Mid player often controls whether the two groups arrive together or become separate executes.
What breaks the structure
- Following too closely and losing both Mid players to the same utility or spray
- Drifting away before the Primary Mid player has a safe fallback or trade
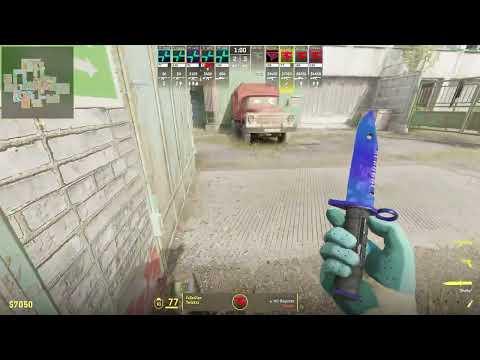
What to study in the POV
- Trade distance before and after the first grenade sequence
- Which utility belongs to the support layer and when it is held back
- How the player changes from support into entry, lurk control or split connector