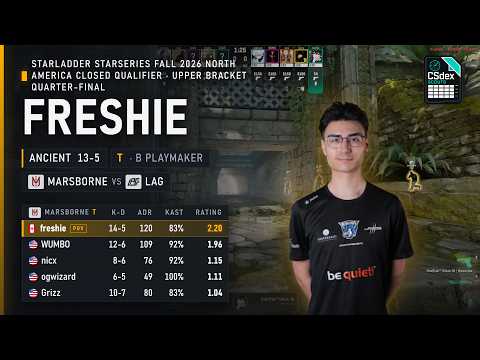
B Playmaker
Usually starts around B Ramp, Cave, B Lane support timings or close to Mid / Red Room connections depending on spawn, default structure and the opening plan. Can change responsibilities with the B entry, Mid player, lurker or B extremity between rounds, especially when the team wants to contest Cave, pressure B Lane, fake B presence or turn B control into a late-round split. The B-side assignment also often decides whether B pressure becomes a real hit, a delayed lurk, a Mid connection or a way to pull CT rotations away from A.
Pathings and possibilities from starting B Ramp / Cave
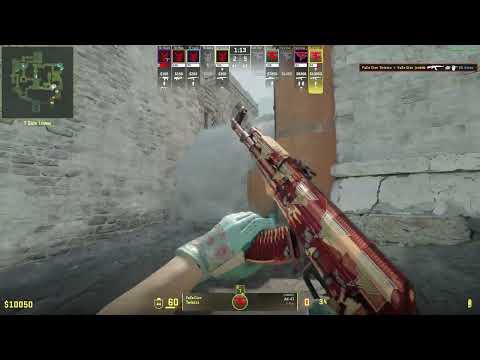
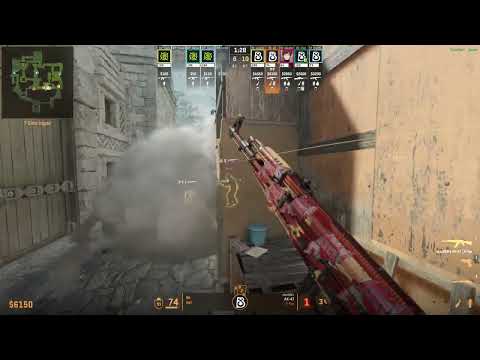
Pressure Cave / B Lane with teammate utility to deny CT control and create early space. (Aggressive) Hold B Ramp / Cave passively to punish CT pushes and protect the default. (Defensive) Reconnect with Mid, Donut or late B hits according to CT reactions and team control. (Situational)
Pathings and possibilities from support routes
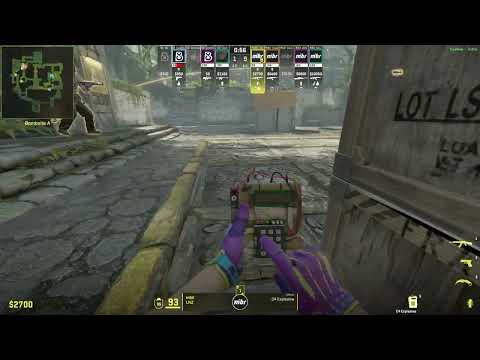
Flash or trade teammates fighting Cave / B Lane Delay B pressure to create uncertainty before the final call Lurk late through Cave or Ramp to punish rotations and retake movement
Mid-round patterns
Control Cave as the main B playmaking route, making it difficult for CTs to hold strong B setups or rotate freely through the map. Decide whether to keep fighting forward, hold for aggression or fall back into a later timing according to utility, sound and teammate progress. This makes sense when the T side wants to build B pressure without instantly committing to the site. Play as the second layer of the B hit, using Cave timing to trade the first entry, split attention and punish defenders focused on Ramp. In this slot, the player can turn a simple B contact into a much harder defense by forcing CTs to clear Cave, Lane and Site pressure at the same time. The setup fits when the team is building toward a B finish, when Cave control is contested or when the round needs stronger trading structure. Lurk around Cave / B Lane to punish rotations and keep CTs trapped between Mid and B. The goal is not always to be first contact, but to create timing, cut off movement or force defenders to clear one more dangerous position before rotating. It is practical when the team pressures A or Mid, when CTs over-rotate away from B or when the round depends on late map control. Reconnect with Mid / Donut after forcing attention toward B. This can make the CT side hesitate between reinforcing B, holding Mid or preparing for an A finish. Look for it when the T side wants to fake B pressure, punish passive CT setups or turn B control into a stronger late-round split.