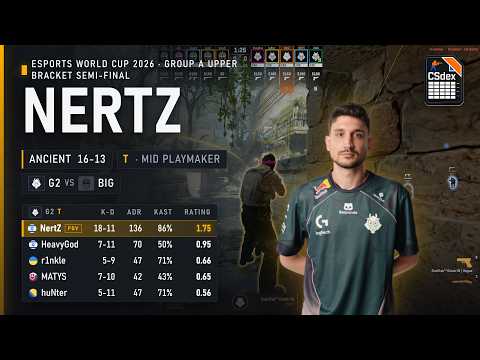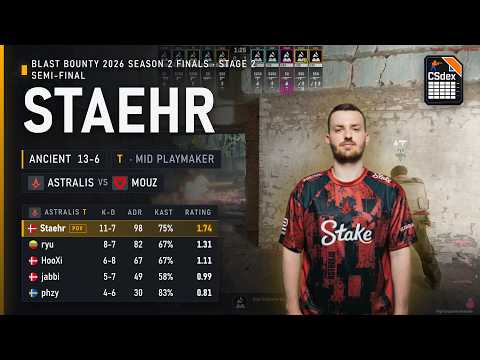
Mid Playmaker
Usually starts around T Spawn, Top Mid, Red Room, Mid, Donut routes or close to B Lane / A Main support timings depending on spawn and the opening plan. Can change responsibilities with the AWPer, B playmaker, A extremity or lurker between rounds, especially when the team wants to fight Mid, split A, pressure B Lane or create uncertainty across both bombsites. Mid control can open Donut, threaten A, connect into B Lane and force CTs to constantly guess where the final hit is coming from.
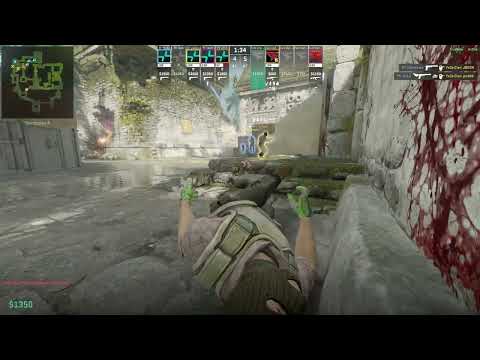
Pathings and possibilities from starting Mid / Red Room
Fight Mid / Red Room with teammate utility to deny CT control and create space. (Aggressive) Hold Mid passively to punish CT pushes, re-peeks or information plays. (Defensive) Move into Donut, B Lane or late site splits according to CT reactions. (Situational)
Pathings and possibilities from support routes
Flash or trade teammates contesting Mid Pressure Donut to split A attention Reconnect with B Lane or A Main depending on the round call
Mid-round patterns
Control Mid through utility, spacing and pressure, making CT rotations uncomfortable and opening multiple split options. Decide whether to fight forward, hold for aggression or reconnect with teammates according to CT utility and positioning. Use this when the T side wants a flexible default instead of committing early to one bombsite. Play as the connector between Mid control and the final hit, turning space into pressure on A, B Lane or Donut. The player in the role often decides whether the team should split, fake, reset or accelerate. It works when CT positions are unclear, when both extremities are still alive or when the round depends on converting Mid control into a clean finish. Lurk or delay around Mid / Donut to punish rotations and cut off retake paths. This can isolate anchors, stop fast flanks or make CTs hesitate before reinforcing either site. The setup fits late-round situations, after early Mid control is gained or when the team wants to make the final execute harder to read. Reconnect with B Lane or A Main after forcing Mid reactions. This can turn CT attention against them, especially when the defense overcommits to stopping Donut or abandons one extremity too early. This makes sense when the T side wants to fake Mid pressure, punish rotation patterns or create a late split from multiple sides.