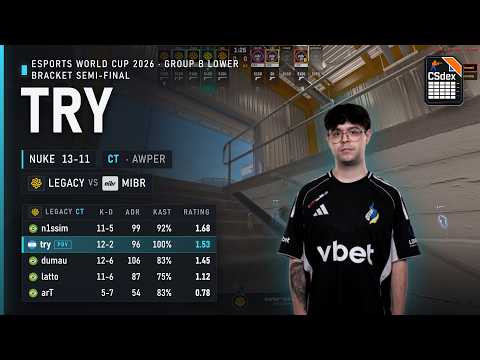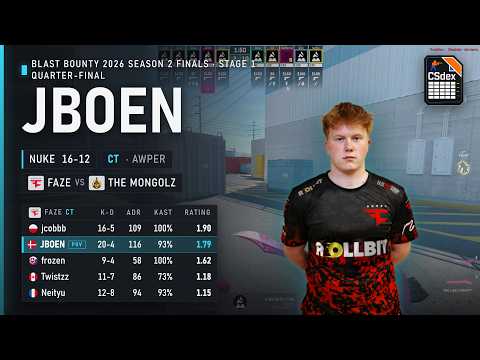
AWPer
Usually starts around Outside, Garage, Heaven, Ramp, Main, A Site or occasionally lower angles depending on spawn, opponent tendencies and the defensive setup. Can change responsibilities with the Outside rotator, Main player, Ramp player or A anchor between rounds, especially when the team wants to contest Yard, deny Secret crosses, stop fast upper pressure or stabilize lower rotations. The player defines how freely Ts can move across Nuke: the AWPer can punish Outside pressure, slow Lobby defaults, control Ramp timings and force the T side to spend utility before they can split the map.
Archive
Role averages
- K/R
- 0.782
- D/R
- 0.574
- ADR
- 79.1
- KAST
- 75.5%
- Avg. |round swing|
- 5.121
About these averages
Metric: all archived map-side rows with the exact Nuke CT “Awper” label. Timeframe: 2024-12-18 to 2026-08-28. Sample: n=5,785.
Source: CSdex V1 aggregate performance archive. Fallback: no fuzzy role-label mapping. Risk: the average describes the archive, not the correct target for every team or round.
Pathings and possibilities from starting Outside / Garage
- Fight Yard / Red / Silo lines with teammate utility to deny early Outside control. (Aggressive)
- Hold Garage / Secret passively to track crosses and punish late movement. (Defensive)
- Reposition toward Heaven, Main, Ramp or lower according to utility, sound and teammate information. (Situational)
Pathings and possibilities from starting Heaven / A-side positions
- Hold Hut / Squeaky / Main pressure from safe AWP lines
- Support the A Anchor through Heaven, Rafters or Main crossfires
- Fall back or drop lower when Outside / Secret pressure becomes confirmed
Pathings and possibilities from starting Ramp / lower-side positions
- Hold Ramp pressure to deny fast lower access
- Support lower rotations after Secret control is taken
- Reposition back toward Heaven / CT / A when the round slows down
Mid-round patterns
- Control Outside with the AWP through Garage, Yard or Secret presence, making it difficult for Ts to cross, re-peek or fake Yard for free. Decide whether to fight forward, hold the cross, fall back or rotate according to smokes, flashes and teammate spacing. This makes sense when the CT side wants early information, strong Yard control or a first-pick opportunity.
- Support upper from Heaven / Rafters / Main after Lobby or A pressure develops. The goal is to delay the execute, punish exposed crossings and stay alive long enough for rotations to arrive. The setup fits when information points toward an upper hit, when Hut / Squeaky pressure is active or when the CT side wants the AWP to stabilize A without taking isolated fights.
- Rotate toward Ramp / lower when Secret, Vent or Ramp pressure becomes the main threat. This can help stop the lower split, protect the bombsite from long-range angles or punish Ts crossing into plant positions. It is practical when Ts gain Outside control, when Ramp is under pressure or when the round develops into a lower finish.
- Reposition constantly after contact, avoiding predictable AWP lines and forcing Ts to clear multiple layers of the map. This keeps the AWP relevant even without an opening kill, because the threat itself can slow defaults, delay executes and make every rotation more expensive for the T side. It makes sense in slow rounds, late-round situations or when the AWPer needs to create pressure without overcommitting.