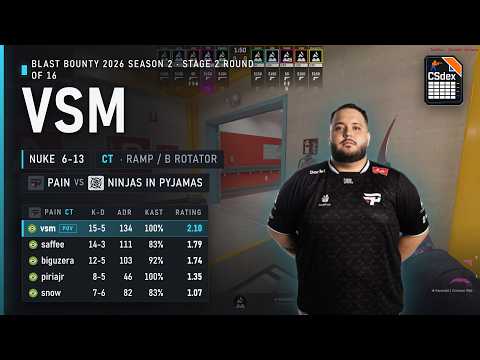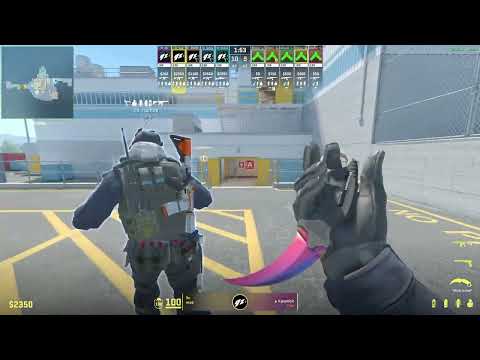
CTNuke
Ramp / B Rotator
Usually starts around Ramp, Trophy, Hell, Lower/B rotation routes or close to Heaven depending on spawn, utility and the defensive setup. Can change responsibilities with the A Anchor, Outside rotator or AWPer between rounds, especially when the team wants to contest Ramp early, delay lower pressure or keep a fast rotation path between bombsites. The player has to decide when Ramp control is worth fighting for and when survival is more valuable than one extra duel.
Pathings and possibilities from starting Ramp / Trophy
- Fight Ramp with teammate utility to deny early lower access. (Aggressive)
- Fall back through Hell or Lower after contact, keeping the rotation alive. (Defensive)
- Re-aggress Ramp or lobby timings when Ts slow down or show weak pressure. (Situational)
Pathings and possibilities from starting deeper lower routes
- Support the B site after Ramp pressure is confirmed
- Rotate back toward Heaven or upper when the hit is a fake
- Use smokes and molotovs to delay plant paths and isolate Ts entering lower
Mid-round patterns
- Contest Ramp long enough to make lower control expensive, then decide whether to hold, fall back or call for help according to utility and teammate spacing. Teams choose it when the CT side expects Ramp-heavy defaults or fast lower pressure.
- Rotate between Ramp, Lower and Heaven as the connector between both bombsites. The hard decision is not over-rotating on fake contact while still arriving early enough to stop lower plants. Expect it in slower rounds where Outside and Lobby information are incomplete.
- Re-clear Ramp after early pressure fades to recover information and free rotations. This can stop Ts from silently rebuilding into lower or using Ramp as a late lurk route. Use this when the defense has stabilized and needs one more piece of information before the final stack.