CTCache
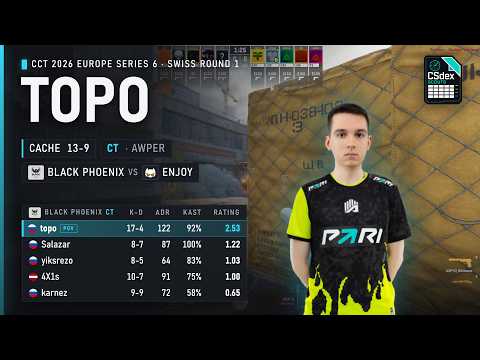
AWPer
The CT AWPer can begin at Mid, the A cross, Highway, B Halls or a deeper site line. The weapon's presence changes which lanes the T side can cross cheaply, but the assignment is not tied to one opening peek. The player must pick a supported first angle, keep a route out and reposition before the attackers can isolate the rifle with utility and trade spacing.
Opening options
- Take a spawn-supported line toward Mid, A Main or B Halls and reset as soon as the shot or utility reveals the position (Aggressive)
- Hold a passive crossing angle that punishes the next layer of the default rather than forcing the first duel (Defensive)
- Start on one side to shape T utility, then move through Z, Highway or CT as teammate information changes the likely finish (Situational)
Mid-round decisions
- Once Mid develops, decide whether the AWP should deny the central cross, reinforce the threatened site or hold the rotation the attackers need for a split. Trying to do all three leaves every timing late.
- On a site hold, play behind the rifles' information and cover the lane they cannot watch. The AWP is strongest when the close angles are cleared or traded by teammates.
- After contact, change elevation, lane or bombsite when a safe route exists. Repeating the same line lets the T side solve the AWP with one prepared flash or smoke.
What breaks the structure
- Taking a first peek without a fallback or teammate who can stop the chase
- Rotating the AWP through a route already exposed by lost Mid control
What to study in the POV
- Why a particular opening angle is safe for that spawn and setup
- How quickly the AWPer leaves after a shot, miss or utility cue
- The relationship between the AWP's sightline and the rifles' close-angle coverage