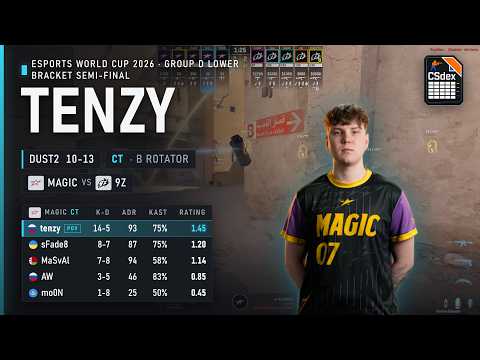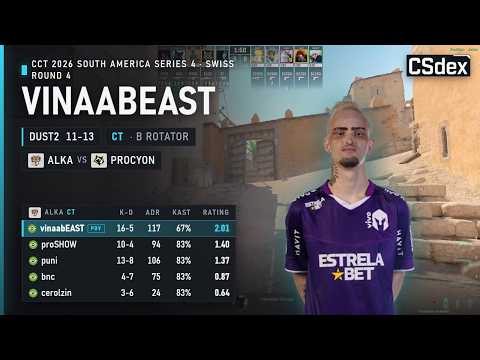
B Rotator
Usually starts around Mid, CT Spawn, B Doors, Window or close to Xbox depending on spawn, utility and the defensive setup. Can change responsibilities with the B Anchor, A player or AWPer between rounds, especially when the team wants to contest Mid, support B, watch Catwalk or stay ready for fast rotations. In this slot, the player connects Dust2's entire CT side: it has to protect B from splits, help A against Catwalk pressure and keep enough Mid information so the team does not rotate blind.
Archive
Role averages
- K/R
- 0.736
- D/R
- 0.650
- ADR
- 79.4
- KAST
- 73.7%
- Avg. |round swing|
- 4.916
About these averages
Metric: all archived map-side rows with the exact Dust2 CT “B rotator” label. Timeframe: 2024-12-18 to 2026-08-28. Sample: n=6,275.
Source: CSdex V1 aggregate performance archive. Fallback: no fuzzy role-label mapping. Risk: the average describes the archive, not the correct target for every team or round.
Pathings and possibilities from starting Mid / CT
- Fight Mid Doors or Lower with the AWPer / teammate utility to deny early T control. (Aggressive)
- Hold CT / Mid passively, watching crosses and staying ready to rotate. (Defensive)
- Support B Doors, Window or Catwalk pressure according to information. (Situational)
Pathings and possibilities from starting B-side positions
- Help the B Anchor against fast Tunnels pressure
- Rotate through CT / Window according to Mid contact
- Reconnect with Mid after early B pressure is denied
Mid-round patterns
- Play Mid as the main information connector, tracking T movement between Lower, Catwalk, Mid Doors and B split timings. Decide whether to hold your ground, support A, reinforce B or rotate back through CT according to the information gathered. The pattern fits default rounds where the CT side needs flexibility more than a hard stack.
- Support B from Window / Doors while staying connected to Mid. This allows the B Anchor to play stronger site positions without being completely isolated, while still keeping the team ready against Mid-to-B splits. This makes sense when Ts show B pressure, when Mid control is uncertain or when the CT side wants a safer B setup without giving up full rotation freedom.
- Rotate toward A through CT / Elevator / Ramp when Catwalk or Long pressure becomes the bigger threat. The hard decision is not rotating too early and exposing B, but also not arriving too late to stop the A split. The setup fits when Ts take Catwalk control, when the AWPer calls pressure away from Mid or when the round develops into a late A finish.