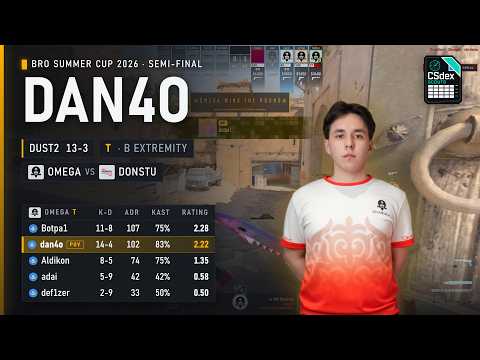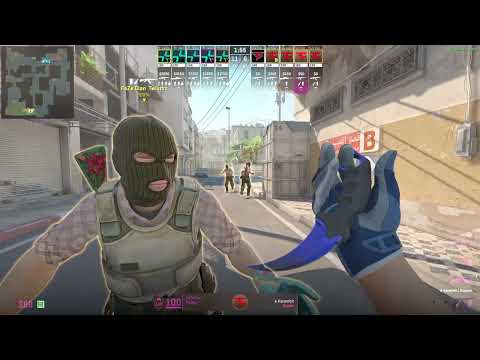
B Extremity
Usually starts around Upper Tunnels, Outside B, T Spawn or close to Lower B support timings depending on the default and final plan. Can change responsibilities with the Lower player, B entry, AWPer or Mid group between rounds, especially when the team wants to pressure Tunnels, hold CT aggression, fake B presence or create a late B timing. In this slot, the player keeps the B side of the map dangerous while the rest of the team works Mid, Catwalk or Long control.
Pathings and possibilities from starting Upper Tunnels
Pressure Upper Tunnels / B contact with teammate utility to deny CT control and create early threat. (Aggressive) Hold Tunnels passively to punish pushes, protect the default and preserve late-round options. (Defensive) Reconnect with Lower, Mid or late B splits according to CT reactions and team control. (Situational)
Pathings and possibilities from support routes
Flash or trade teammates fighting Upper / Lower Tunnels Delay B presence to create uncertainty before the final hit Lurk late through Tunnels to punish rotations or retake movement
Mid-round patterns
Hold B extremity control while teammates pressure Mid, Catwalk or Long, making sure CTs cannot push Tunnels for free information. Decide whether to stay hidden, take space or regroup according to utility, sound and teammate progress. The pattern fits default rounds where the T side wants map control before choosing the final bombsite. Support B hits as the second layer of the attack, using Tunnels timing to help entries clear Site, Platform, Window and Doors positions. The assignment can turn quiet Upper control into a dangerous late execute or Mid-to-B split. It works when the team is building toward a B finish, when the B Anchor is isolated or when the round needs stronger trading structure. Lurk late around Upper Tunnels / Lower B to punish rotations and keep CTs trapped between sites. The goal is not always to be first contact, but to create timing, cut off movement or force defenders to clear one more dangerous angle. This makes sense when the team finishes A after B pressure, when CTs over-rotate or when the round depends on late map control. Reconnect with Mid pressure after forcing attention toward B. This can make the CT side hesitate between reinforcing B, watching Mid-to-B splits or preparing for an A finish. The setup fits when the T side wants to fake B presence, punish passive CT setups or turn B extremity control into a stronger late-round split.